
A gaming PC is a performance machine, but it won’t stay that way if you treat it like a sealed artifact. Dust buildup doesn’t just make your rig look like it’s been through a sandstorm, it chokes airflow, spikes temps, and throttles your framerates. Whether you’re running a $3,000 custom loop build or a solid mid-range setup, regular cleaning is the difference between smooth 144 FPS gameplay and thermal throttling during clutch moments.
This guide walks through everything from safety prep to deep-cleaning your GPU, plus how often to do it based on your environment. No fluff, no vague “use compressed air” advice. Just the exact process to keep your system running cool and fast.
Key Takeaways
- Regular gaming PC cleaning prevents dust buildup from throttling performance, reducing FPS loss and thermal damage to components.
- Use an electric duster, microfiber cloths, and isopropyl alcohol as your essential tools, avoiding household vacuums that generate damaging static.
- Always ground yourself with an anti-static wrist strap and shut down your system completely before opening the case to prevent component damage.
- Clean your GPU, CPU cooler, motherboard, and power supply by blowing compressed air through heatsinks and fins while holding fan blades stationary.
- Establish a cleaning schedule based on your environment: every 3 months for high-dust areas, 6 months for typical gaming spaces, and annually for filtered cases.
- Better cable management and peripheral maintenance alongside your PC improves airflow, temperatures, and overall system longevity.
Why Regular Gaming PC Cleaning Is Critical for Performance
Dust is the silent killer of gaming performance. It accumulates on heatsinks, fan blades, and PCB components, acting as an insulating blanket that traps heat. When your CPU or GPU can’t dissipate heat efficiently, they throttle clock speeds to avoid damage, meaning lower FPS, longer load times, and stuttering during intense sessions.
Beyond performance, dust buildup increases fan noise as your cooling system works overtime trying to compensate. Fans spin faster and harder, wearing out bearings prematurely. In extreme cases, dust can cause shorts or contribute to component failure, especially in humid environments where it clumps and becomes conductive.
Regular cleaning also maintains resale value. A well-maintained rig with clean internals signals to buyers that the system was cared for, whereas a dust-caked interior raises red flags about neglect. If you’re serious about maintaining peak performance and extending hardware lifespan, cleaning isn’t optional, it’s essential maintenance.
Essential Tools and Supplies for Cleaning Your Gaming PC
Having the right tools makes the cleaning process faster and safer. Here’s what you’ll need:
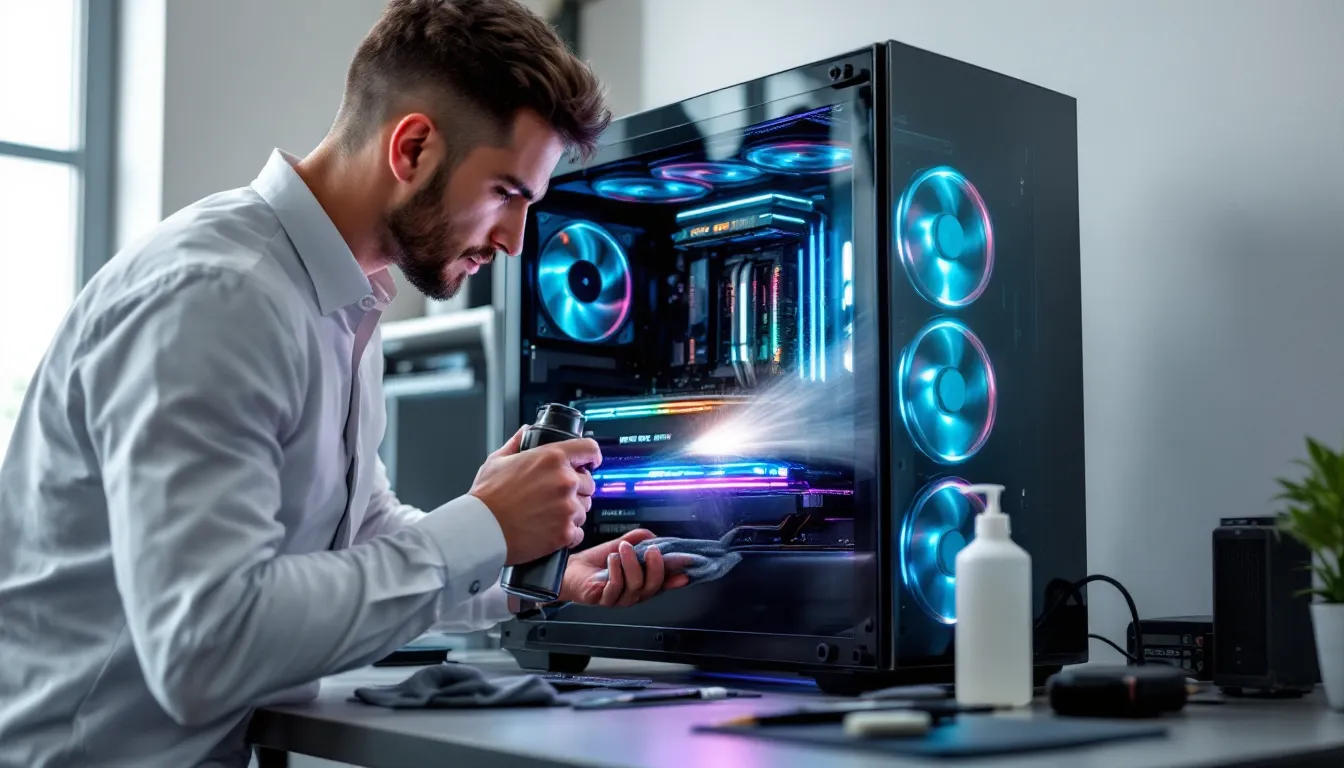
Compressed Air or Electric Duster: The backbone of PC cleaning. Compressed air cans work, but an electric duster (like the DataVac) is more cost-effective long-term and provides consistent pressure without the freeze-up issues of canned air.
Microfiber Cloths: For wiping down surfaces, tempered glass panels, and exterior cases. Never use paper towels, they can scratch surfaces and leave lint.
Isopropyl Alcohol (90% or higher): Essential for removing thermal paste residue and cleaning stubborn grime on components. The higher concentration evaporates faster, leaving no moisture behind.
Anti-Static Brush: Useful for gently brushing dust off delicate components like RAM slots and PCIe connectors without generating static.
Screwdriver Set: A magnetic-tip Phillips head is standard for most PC cases and component screws. Keep multiple sizes handy.
Cable Ties or Velcro Straps: For reorganizing cables after cleaning. Better cable management improves airflow.
Thermal Paste (optional): If you’re removing your CPU cooler for deep cleaning, you’ll need to reapply thermal paste. Arctic MX-5 or Thermal Grizzly Kryonaut are solid choices in 2026.
Avoid using household vacuum cleaners directly on components, they generate static and can damage sensitive electronics. Stick to compressed air and controlled airflow.
Safety Precautions Before You Start Cleaning
Skipping safety steps is how you turn a simple cleaning session into an expensive hardware replacement. Static discharge and improper shutdown can fry components instantly.
Powering Down and Disconnecting Your System
Shut down your PC completely, don’t just sleep or hibernate it. Power off, then flip the switch on your PSU to the off position (usually marked with an O symbol). Unplug the power cable from the wall outlet entirely.
Leave the system unplugged for at least 5 minutes to allow residual power in capacitors to dissipate. This is especially important for systems with RGB lighting or fast-charge USB ports that can stay powered even when “off.”
Disconnect all peripherals: monitor cables, USB devices, ethernet, audio jacks, everything. This gives you clearance to move the case if needed and prevents accidental tugs that could damage ports.
Grounding Yourself to Prevent Static Damage
Static electricity is invisible but deadly to PC components. A single zap can kill a motherboard, RAM stick, or GPU without any visible damage.
Before touching internal components, ground yourself. The best method is wearing an anti-static wrist strap connected to a grounded metal object (like the metal frame of your case, once it’s unplugged). If you don’t have a strap, periodically touch an unpainted metal part of your case to discharge any built-up static.
Work on a hard, non-carpeted surface. Carpets generate static, especially in low-humidity environments. Avoid wearing wool or synthetic fabrics, cotton is ideal. If your workspace is particularly dry, consider using an anti-static mat or increasing humidity slightly with a humidifier.
Step-by-Step Guide to Cleaning Your PC Case and Exterior
Start with the outside before diving into internals. This prevents kicking up dust that could resettle inside the case.
Removing Dust from Case Fans and Filters
Case fans are the first line of defense against dust, which means they catch the worst of it. Remove any magnetic or slide-out dust filters first, most modern cases (NZXT H-series, Corsair 4000D, Lian Li O11) have tool-free filters on the front, top, and bottom.
Rinse filters under lukewarm water with mild soap if they’re particularly caked. Let them air dry completely, do not reinstall wet filters.
For the fans themselves, hold each blade stationary while blasting with compressed air. If you let fans spin freely under air pressure, you can damage bearings or generate voltage spikes that travel back to the motherboard. Work from the center outward, hitting both sides of the blades.
If fans are removable and heavily soiled, unscrew them and clean individually. Use a microfiber cloth lightly dampened with isopropyl alcohol to wipe blades, then let them dry fully before reinstalling.
Cleaning Tempered Glass and Side Panels
Tempered glass side panels show every fingerprint and smudge, and dust clings to static charges on the surface.
Remove panels according to your case design, usually thumb screws or a sliding mechanism. Lay them flat on a soft surface like a towel to avoid scratching.
Spray a small amount of glass cleaner or isopropyl alcohol onto a microfiber cloth (never directly on the glass, liquid can seep into edges). Wipe in circular motions, then buff with a dry section of the cloth for a streak-free finish.
For acrylic or plastic panels, skip ammonia-based cleaners, they can cause cloudiness or micro-cracking. Stick to isopropyl alcohol or dedicated acrylic cleaner.
Don’t forget the exterior case surfaces. Wipe down the top, front, and sides with a damp microfiber cloth to remove dust and grime. Pay attention to intake vents and any mesh sections.
Deep Cleaning Internal Components
This is where the real performance gains happen. Open your case and take a moment to assess the dust situation before you start blasting air everywhere.
Cleaning Your GPU and Graphics Card Fans
Your GPU is the hardest-working component in a gaming rig, and it collects dust like a magnet. Modern cards like the RTX 5080, RX 8800 XT, or even older RTX 3000/4000 series have large triple-fan coolers with plenty of surface area for dust accumulation.
Without removing the GPU (unless you’re comfortable with full disassembly), use compressed air to blow dust out of the heatsink fins and fan blades. Angle the air stream to push dust out through the rear I/O bracket rather than deeper into the case.
Hold each fan blade still while cleaning, same rule as case fans. If you’re experienced and want to go deeper, you can remove the GPU, unscrew the cooler shroud, and access the heatsink directly. This lets you clean between fin stacks more thoroughly, but requires reapplying thermal paste and thermal pads when reassembling. For most users, external cleaning is sufficient.
Check the PCIe slot area and backplate for dust buildup. A soft anti-static brush works well here.
Cleaning Your CPU Cooler and Heatsink
CPU coolers, whether air or AIO liquid, are dust magnets. Tower coolers (like the Noctua NH-D15 or be quiet. Dark Rock Pro) have dense fin arrays that trap dust, while AIO radiators collect it on both the rad fins and mounted fans.
For air coolers, blast compressed air through the heatsink fins from multiple angles. Work from the back (exhaust side) toward the front to push dust out in the direction of normal airflow. If the cooler is heavily clogged, you may need to remove it entirely for thorough cleaning.
Removing an air cooler means you’ll need to clean off old thermal paste and apply fresh paste before reinstalling. Use isopropyl alcohol on a lint-free cloth or coffee filter to remove old paste from both the CPU IHS (integrated heat spreader) and cooler base.
For AIO liquid coolers, focus on the radiator and fans. Remove fans from the radiator if possible, most are held with four corner screws. Clean the rad fins with compressed air, and wipe fan blades individually. Check tubing and fittings for dust or residue buildup.
Don’t forget the pump block/cold plate on the CPU. Wipe down the exterior (not the contact surface unless you’re remounting) and clear any dust from the pump housing.
Removing Dust from Your Motherboard and RAM
Motherboard dust tends to settle around PCIe slots, RAM slots, VRM heatsinks, and chipset areas. Use short bursts of compressed air to avoid overwhelming components with force.
Pay special attention to:
- RAM slots: Dust can interfere with contact. If you’re comfortable, remove RAM sticks and clean the slot channels with an anti-static brush, then wipe the RAM contacts with isopropyl alcohol.
- VRM heatsinks: These get hot and attract dust. Blow out fins and wipe surfaces with a microfiber cloth.
- Chipset and M.2 heatsinks: Often overlooked, but dust buildup here can impact NVMe SSD thermals.
- Fan headers and cable connections: Dust in connectors can cause intermittent issues. Blow them out gently.
Avoid touching circuitry or capacitors directly. Keep your hands grounded and use tools or compressed air for most tasks.
Cleaning Your Power Supply Unit
PSUs pull in air (and dust) constantly. Many modern units (Corsair RMx, EVGA SuperNOVA, Seasonic Focus) have dust filters, but plenty still gets inside over time.
If your PSU fan is accessible from outside the case (common in ATX layouts with PSU mounted at the bottom, fan-down), blow compressed air through the fan grille and exhaust vent. Use short bursts and don’t let the fan spin freely.
For deeper cleaning, some users remove the PSU entirely and blow air through all vents. Do not open the PSU casing itself, PSUs contain capacitors that hold dangerous voltage even when unplugged. Internal PSU cleaning should only be done by professionals.
If your PSU has a removable dust filter on the intake side, clean it the same way as case filters, rinse and dry thoroughly.
Cleaning and Organizing Cable Management
While you’ve got the system open, take a few minutes to address cable management. It’s not just about aesthetics, better cable routing improves airflow and makes future cleaning easier.
Unplug any cables that are loose or poorly routed. Use compressed air to blow dust off cable bundles, especially near fan hubs, RGB controllers, and cable management channels behind the motherboard tray.
Reorganize cables with velcro ties or twist ties (avoid zip ties if you plan to upgrade components frequently, they’re a pain to cut and replace). Route cables behind the motherboard tray whenever possible, keeping the main chamber clear for airflow.
Hardware reviews on Tom’s Hardware consistently show that even modest cable management improvements can drop internal temps by 2-4°C, which is meaningful for overclocked systems or compact cases with tight airflow.
Cleaning Your Gaming Peripherals
Your peripherals collect grime, oils, and dust just like your PC internals, but they’re in constant contact with your hands, making cleanliness even more important.
Keyboard and Mouse Deep Cleaning
Mechanical keyboards (especially hot-swappable models like the Keychron Q or GMMK Pro) accumulate debris between keycaps. Remove keycaps with a keycap puller, cheap plastic ones work fine, but wire pullers are gentler on stabilizers.
Once keycaps are off, flip the board upside down and tap it gently to dislodge loose debris. Use compressed air to blow out dust from between switches, then wipe the plate and switch housings with isopropyl alcohol on a microfiber cloth.
Clean keycaps by soaking them in warm soapy water (remove any RGB keycaps first if they’re backlit and might be affected by water). Scrub with a soft brush, rinse, and let them air dry completely, at least 24 hours, before reinstalling.
For your mouse, remove any removable parts (magnetic panels, swappable side buttons) and clean with isopropyl alcohol. Pay attention to the sensor lens, dust here directly impacts tracking accuracy. Use a cotton swab barely dampened with alcohol to clean the lens gently. Wipe down the cable and any braiding with a microfiber cloth.
Mouse feet (PTFE or similar) don’t need cleaning often, but if they’re catching or feel sluggish, wipe them and your mousepad simultaneously.
Monitor Screen and Bezel Maintenance
Monitor screens scratch easily and attract dust due to static. Turn off and unplug your monitor before cleaning.
Use a dry microfiber cloth first to remove loose dust. For smudges or fingerprints, lightly dampen the cloth with distilled water or a 50/50 mix of distilled water and isopropyl alcohol. Wipe gently in straight lines (not circles) from top to bottom.
Never spray liquid directly onto the screen, it can seep into edges and damage electronics or cause backlight issues. For stubborn spots, apply cleaner to the cloth and dab gently.
Clean bezels and the stand with a separate cloth and mild cleaner. Gaming monitors with RGB lighting or glossy finishes show fingerprints easily, so keep a dedicated monitor cloth handy.
ManyPC gaming setups benefit from consistent peripheral maintenance alongside the tower itself, according to testing from PCWorld.
Reassembly and Post-Cleaning Checklist
Before you power up, double-check everything. Rushing reassembly is how cables get pinched or fans get left unplugged.
Reinstall all components in reverse order:
- Reattach any removed coolers, GPUs, or PSU (apply fresh thermal paste if you removed a CPU cooler).
- Reconnect all power cables, 24-pin ATX, 8-pin CPU, PCIe power for GPU, SATA/Molex for drives and RGB.
- Plug in fan headers, USB headers, front panel connectors, and any RGB/fan controllers.
- Reinstall case fans and secure dust filters.
- Reattach side panels and secure with thumb screws or latches.
Post-cleaning checklist:
- [ ] All power cables seated fully (no loose 8-pin connectors).
- [ ] All fans plugged in (check every header, CPU fan, chassis fans, AIO pump).
- [ ] No loose screws or tools left inside the case (shake gently to listen for rattles).
- [ ] Dust filters reinstalled and secured.
- [ ] Peripherals reconnected: monitor, keyboard, mouse, ethernet, audio.
- [ ] Power cable plugged into PSU and wall outlet.
- [ ] PSU switch flipped to ON (I position).
First boot after cleaning: Power on and enter BIOS immediately (usually Delete, F2, or F12 key during boot). Check that all fans are spinning and reported correctly. Verify CPU and GPU temps are normal, they should idle lower than before cleaning.
Boot into your OS and monitor temps under load using HWInfo64, MSI Afterburner, or similar. Run a quick stress test or a game session to confirm everything’s stable. If you see thermal improvements of 5-15°C depending on how dusty the system was, you’ve done it right.
How Often Should You Clean Your Gaming PC?
Cleaning frequency depends on your environment, case design, and usage intensity. There’s no universal rule, but here’s a practical breakdown:
Every 3 months (high-dust environments): If you have pets, live in a dusty area, smoke indoors, or run your PC on carpet, clean quarterly. Systems in these conditions choke fast. Checking your gaming PC tips regularly helps catch issues early.
Every 6 months (moderate environments): Standard for most gamers in clean indoor environments. This strikes a good balance between effort and maintaining performance.
Every 12 months (low-dust, filtered cases): If you run a modern case with excellent dust filtration (like the Fractal Torrent or be quiet. Pure Base 500DX), have no pets, and keep your space clean, annual deep cleans may suffice. Still, check dust filters every few months and clean those as needed.
Monthly quick checks: Regardless of schedule, pop open your case once a month and visually inspect fan blades and filters. If you see visible dust buildup, don’t wait for your scheduled cleaning, address it.
Gaming laptops follow different rules. They’re harder to clean internally, but many benefit from external vent cleaning every 2-3 months. Resources like tutorials on How-To Geek cover laptop-specific teardown and cleaning procedures if you’re comfortable with that.
Competitive gamers or streamers who run their systems 8+ hours daily might want to tighten schedules slightly. Dust accumulation is directly tied to runtime and airflow volume.
Conclusion
Cleaning your gaming PC isn’t glamorous, but it’s one of the highest-impact maintenance tasks you can do. Lower temps, quieter operation, and sustained performance are the immediate payoffs, extended hardware lifespan and better resale value are the long-term wins.
Stick to a regular schedule based on your environment, invest in quality tools like an electric duster, and don’t skip the safety steps. A clean rig is a fast rig, and in competitive gaming, every frame and every degree matters. Now get in there and give your system the care it deserves.